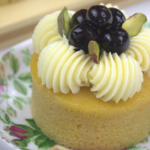
Orange Flourless Cake
June 11, 2024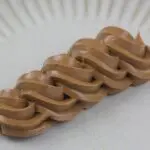
Buttercream
July 11, 2024A Classic Delight
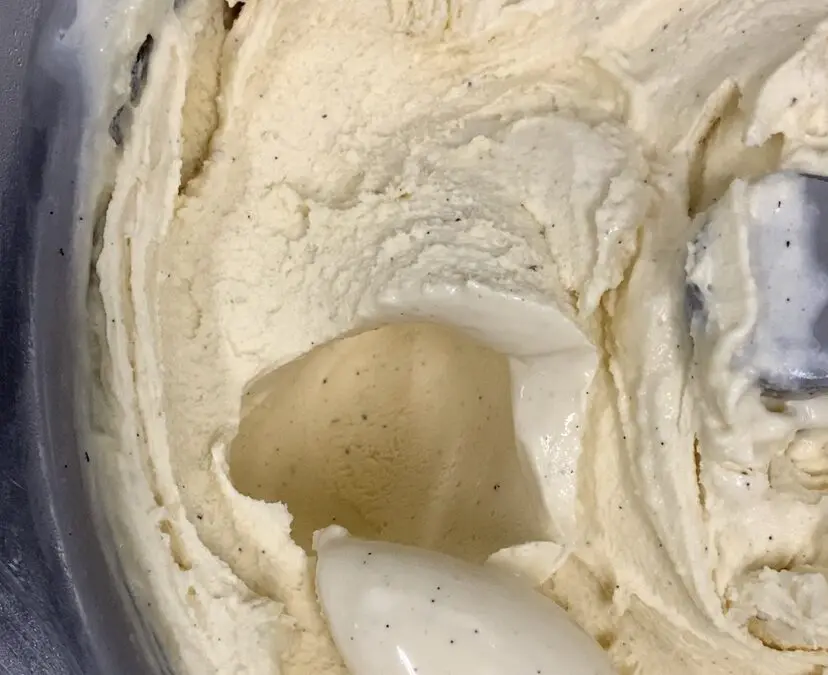
Welcome to my kitchen! Today, we’re diving into the world of classic desserts with a recipe that’s timeless and universally loved: Vanilla Bean Ice Cream. This delightful treat is a perfect balance of creamy texture and rich, aromatic vanilla flavour, making it a must-have in your culinary repertoire.
The Origin of Vanilla Bean Ice Cream
Vanilla ice cream has a fascinating history. It is believed to have originated in the early 18th century when French chefs introduced it to the European aristocracy. However, the vanilla bean itself has a much longer history, originating in Mesoamerica where it was cultivated by the Totonac people. Later, it was popularized by the Aztecs and brought to Europe by Spanish explorers. Today, vanilla bean ice cream is a beloved dessert enjoyed worldwide, cherished for its simple yet indulgent flavour.
Ingredients
For this recipe, you’ll need:
- 2 cups heavy cream
- 1 cup whole milk
- ¾ cup granulated sugar
- 1 vanilla bean
- 5 large egg yolks
- 1 teaspoon pure vanilla extract
- Pinch of salt
Preparations Before You Begin
- Vanilla Bean Prep: Slice the vanilla bean lengthwise and scrape out the seeds. These seeds will infuse the cream with that characteristic speckled look and intense flavour. Reserve the pod for simmering.
- Egg Yolks: Separate the egg yolks from the whites. You’ll only need the yolks for this recipe. Save the whites for another recipe, like meringue or angel food cake.
- Ice Bath: Prepare an ice bath by filling a large bowl with ice and water. This will help cool the custard quickly and prevent it from overcooking.
Let’s Make Ice Cream!
- Infuse the Cream: In a medium saucepan, combine the heavy cream, whole milk, half of the sugar, the vanilla bean seeds, and the pod. Heat over medium heat until it starts to steam, but do not let it boil. Remove from heat and let it steep for 15 minutes to extract the maximum flavor from the vanilla bean.
- Whisk the Yolks: In a separate bowl, whisk together the egg yolks and the remaining sugar until the mixture becomes pale and slightly thickened.
- Temper the Eggs: Slowly pour the warm cream mixture into the egg yolk mixture, whisking constantly to prevent the eggs from curdling. Return the combined mixture to the saucepan.
- Cook the Custard: Cook over medium-low heat, stirring constantly with a wooden spoon, until the mixture thickens enough to coat the back of the spoon (about 170°F to 175°F). Be careful not to let it boil.
- Cool the Custard: Remove from heat, strain the mixture through a fine-mesh sieve into a clean bowl to remove any cooked egg bits and the vanilla pod. Stir in the vanilla extract and a pinch of salt. Place the bowl in the prepared ice bath, stirring occasionally until cool.
- Chill Thoroughly: Cover the custard with plastic wrap, pressing it directly onto the surface to prevent a skin from forming. Refrigerate for at least 4 hours, preferably overnight.
- Churn and Freeze: Pour the chilled custard into your ice cream maker and churn according to the manufacturer’s instructions. Transfer the churned ice cream to an airtight container and freeze until firm, about 4 hours.
Perfect Pairings
Vanilla bean ice cream is incredibly versatile and pairs beautifully with a variety of drinks:
- Espresso: The bitterness of a strong espresso contrasts beautifully with the creamy sweetness of vanilla ice cream.
- Dessert Wine: A glass of late harvest Riesling or Sauternes complements the rich vanilla flavor without overpowering it.
- Hot Chocolate: A warm, rich hot chocolate creates a luxurious pairing, especially in cooler months.
- Sparkling Wine: For a festive touch, try pairing with a glass of Prosecco or Champagne. The bubbles and lightness refresh the palate between creamy bites.
I hope this guide inspires you to make your own vanilla bean ice cream at home. It’s a rewarding process that results in a delicious treat everyone will love. Happy cooking!
